Friday, November 11, 2011

Bulgogi


Bulgogi is our family favorite. Sharon recently turned 21 and requested it for her birthday dinner. She also asked for a yummy spice cake with cream cheese frosting--but that'll be another post!

Next post!

Bulgogi is Korean barbecued meat. Bruce lived in Korea his first year out of Westpoint. I had never had Korean food until we were married. It is a culinary powerhouse! Strong flavors mix with delicate. The spicy hot is balanced by lots of sticky short grain white rice, and the infamous daily intake of Kimchi. Koreans are a very hearty people.

Bulgogi is not spicy but you can make it more peppery. One of the optional condiments, Konjuchong, is a spicy hot bean paste made with red chili peppers. Kimchi is pretty much a mandatory side dish and it comes mild to spicy hot.


Kimchi, Beto's tortillas and cheese, Konjuchong and rice

Everyone who has experienced Bulgogi at our house has gone away loving it. Even our newest foreign exchange student from Mexico, Alberto. "Beto" may be Mexican, but he does not like rice, or anything spicy. Of our meals, Beto has only liked spaghetti and meatballs, angelhair pasta with a tomato parmesan alfredo sauce, hamburgers and beef sausage on the grill. Soft white bread with butter and and corn are about the only side-dishes he'll eat. I make sure there are always flour tortillas, deli ham and cheese on hand for his self-service.


Bobby Stir-fryer


Bulgogi

This is a large amount which just barely feeds our dozen diners. You could make this much and have delicious leftovers, or reduce accordingly.

Marinade:

6 spring onions; white part sliced thinly, green part sliced in 1/2-1" pieces
6 cloves garlic, smashed (reduce if you are not a garlic fan)
12 Tb soy sauce (use the best you can find)
8-12 Tb red wine (I use any kind if I'm out of red)
6 Tb Honey
6 Tb Brown Sugar
6 Tb Sesame Oil
1/2 tsp black pepper
salt to taste (I usually don't add any, the soy sauce is salty enough)

Whisk all the above together in a glass lasagne pan or other large shallow dish. Taste the marinade. If you like it a bit sweeter, add more honey or brown sugar. Add to the marinade:

3 lbs very thinly sliced beef

I have bought "bulgogi beef" and find that it is usually too thickly sliced for us. I have experimented with expensive cuts and cheap cuts. The best seem to be the middle of the road. Too-lean beef results in tough and chewy bulgogi. An arm roast or chuck or something I've found labelled "mock steak" work fine.
A tip for cutting the beef is to put it into the freezer until it is just firm--not hard--about an hour. I find the ideal size for slicing is a piece about 2 inches high and 3 inches wide. Cut across the grain, very thinly. Place all sliced meat into the marinade. Marinate overnight preferably, but at least 1-2 hours.

Heat a large wok or frying pan over high heat with a tablespoon of oil. Fry meat in small batches, moving it around frequently. Cook until no longer pink and the juices have thickend and carmelized. Transfer to large serving bowl and repeat until all meat is cooked.


Serve with large lettuce leaves, kimchee and/or konjuchong and white rice. Each diner makes a "roll" with the lettuce as the wrap, piling on some rice, bulgogi and  kimchee and/or konchuchong. The roll is eaten by hand.

Building the roll

Ahh!
I hope you take the time to make bulgogi soon!   맛있게 드세요 "Mas-iss-gay deu-say-oh!" Enjoy!!

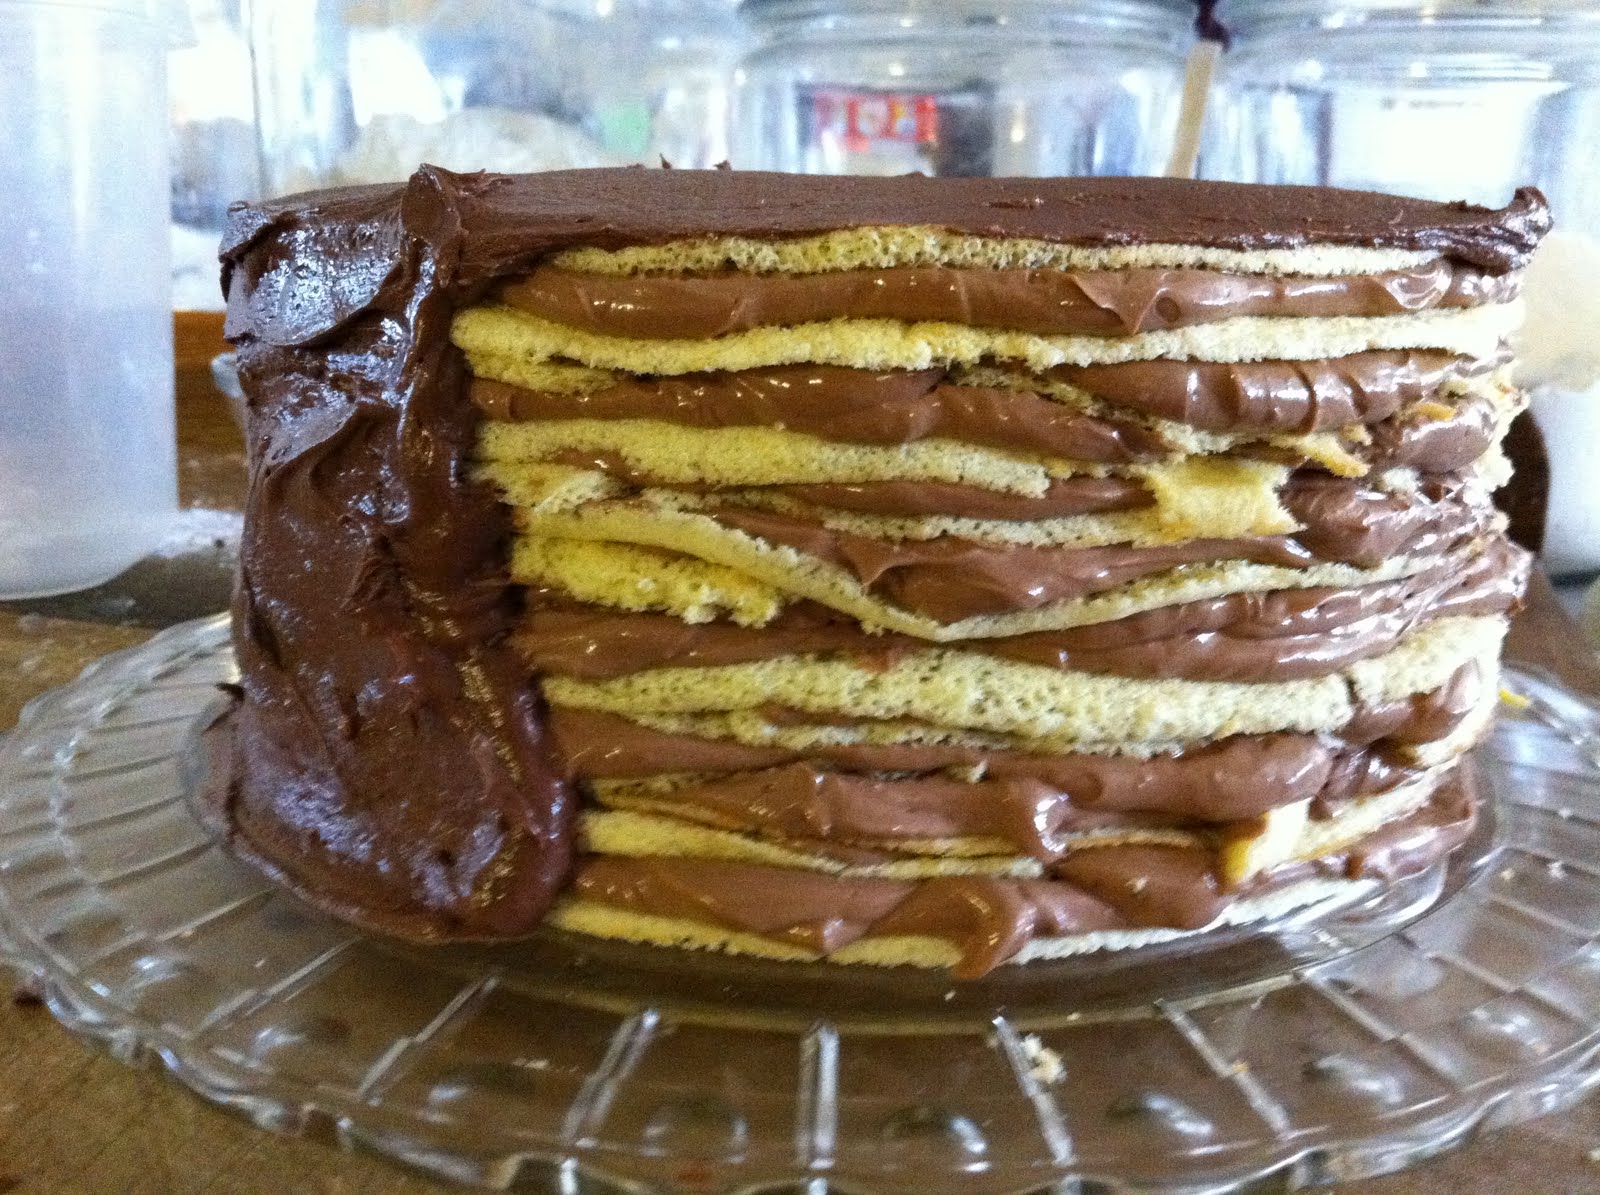
Happy Birthday, Sharon!

The Abbey Farm Cooks

Photo of Sharon by Emily Roeder Photography

Saturday, July 23, 2011

Susanna's Dobos Torte


My Grandma Susanna Breiner was a wonderful lady. She was born in Giulvaz, Romania. Her family and my Grandfather's family came to America to escape the Austro-Hungarian war. We referred to them as German, and that is the language they predominantly spoke, but I guess they were Romanian/Austro/Hungarian. Grandpa was born in Budapest and spoke many languages. My mother and her siblings understood German, but when Grandma and Grandpa wanted to be private, they spoke Hungarian. I have written about them and about Grandma's cooking and baking on The Abbey Farm blog. http://theabbeyfarm.blogspot.com/2011/01/memories-of-batavia.htmlhttp://theabbeyfarm.blogspot.com/2010/12/my-grandmother-susanna-had-sister-named.html, http://theabbeyfarm.blogspot.com/2010/12/mawdash-soup.html I promised to post her Dobos Torte recipe long ago. I recently baked it for Margaret's birthday. We remarked that it was more like a confection with a little bit of cake to change it's classification.


Grandma's was slightly different from the classic version of Josef Dobos, created a century ago. It did not have the  burnt sugar/caramel top, and it was infused with good strong coffee--reminiscent of a cross with Tiramisu. Also, instead of seven layers, Grandma made at least a dozen, depending on the freshness and temperature of the eggs. She had a large family to feed, so maybe a larger cake was necessary. It was impressive when cut, and it tasted heavenly. Grandma had only one cookbook that I know of. It was a compilation of recipes from the ladies of "The Dorcas Guild," of the "Magyar United Church of Christ, Evangelical and Reformed" in Elyria, Ohio. The cookbook is handbound and dedicated "lovingly...to our Hungarian Mothers," copyright 1960. My Aunt Irma said that it was Grandma's friend who inspired her to bake the Dobos Torte. Grandma wanted the recipe and this, I believe, is the one given to her. It is adapted. Grandma's pencil marks note changes on the recipe. Aunt Irma confirmed them for me recently (Thanks, Aunt Irm!!).


Important to note is that the cake layers are made in two half-batches. I have tried it all at once but by the time the last layers are made, the eggwhite has deflated and the spongecake is no longer springy. That is important, because the coffee in the chocolate buttercream leaks out into it and is soaked up, making it incredibly moist.

Dobos Torte

Cake: Make in two batches. Bake the cakes from the first batch, then make the next batch and bake more cakes.

(x2):
6 room temperature eggs, separated
6 Tb powdered sugar
6 Tb sifted, all-purpose flour
1 Tb water

Cream yolks, sugar and water until thick. Sift flour into egg mixture and blend in well. Fold in firmly beaten egg whites. Here is another important part: in order to bake pancake-thin layers, I flip a cookie sheet over and mentally trace a 9" circle on it. Spray with Pam and spread about  1/2 cup of batter into that circle. It will not matter if it is exact, when assembling the cake there is much forgiveness. Bake each layer only about 5-8 minutes until set and only the slightest golden brown, if any, around the edge. I can do a couple layers at a time in the same oven. It is fast work. When out of the oven, while still hot, run a long, sharp knife under the cake carefully to remove the cake. Let cool on clean kitchen towels lined on the table. They can be overlapped slightly, but remember you'll have a dozen or so of them! Repeat with the second half of the batter.

Filling:

While the cake layers cool, cook in a double boiler, stirring constantly until thick:

6 eggs
1 1/2 c powdered sugar
4 oz bittersweet chocolate

Cool. Cream together in separate bowl:

1 lb sweet butter
1/2 tsp salt 
1 tsp vanilla

Beat spoonfuls of butter mixture into cooled chocolate mixture. Gradually beat in:

1 c strong, cooled coffee

Beat well. It may seem as if the mixture just won't incorporate the coffee, but done slowly, it will. If it seems to separate, beat longer. What results is what dreams are made of!

Frosting:

This is a classic Hungarian Chocolate Frosting which uses raw egg. I have to recommend to exclude the egg. We have our own chickens and I know they are healthy, so I have no trouble beating one in. I can't recommend for you to do it, though. Safety reasons. But I will copy here the recipe from Grandma.

4 cups powdered sugar
1/4 lb (one stick) butter, softened
2-4 oz unsweetened chocolate (depending on your preference of chocolatiness--I like it dark!)
1 tsp vanilla
1 egg plus two yolks 
1-3 Tb milk or cream, if needed to make it spreadable

Cream half the powdered sugar with the softened butter, egg (if using) and vanilla. Beat in the rest of the powdered sugar until smooth, then the melted and cooled chocolate. Gradually beat in enough milk or cream to make it spreadable.

Assembly:

Place the first cake layer on a pretty plate. Top with about 1/3 cup filling and spread to edges. Repeat with remaining layers and filling until you've used up one or the other. Note: extra filling is wonderful from the spoon, extra cake layers are yummy rolled up with Nutella! You should have a 12-14 layer, impressive tower. Pop it in the refrigerator for an hour to set. Then frost the top and sides with the chocolate frosting. Grandma always ran fork tines around the outside as a decoration.

Refrigerate. The torte is best the next day, but we can never wait. You really want to cut thin layers like a slice of wedding cake, not the usual triangular cake slices. Serve with a great cup of tea or strong coffee and enjoy!

Margaret is happy to help with her Birthday Cake!


Two mixers are not essential, but do help

Spreading the batter thinly

Bottom of cookie sheet method

Make room for many layers!

Bittersweet chocolate-coffee buttercream


First layer

Keep going!


Almost there...


Yes, the fourteenth layer!

Ice the Torte with Hungarian Chocolate Frosting


Score outer edge of Torte with fork


Jo' e'tva'gyat!

The Abbey Farm Cooks

Sunday, June 19, 2011

White Chicken Chili


My friend Megan made a delicious meal for our family after the birth of one of our babies. White Chicken Chili. We all loved it. I got the recipe from her, but then misplaced it. I have reconstructed it from memory and with the help of a couple of similar recipes. I recently made a huge amount of it for Susanna's friends, who arrived kind of last-minute. They were supposed to meet at a local park but storms sent their plans indoors: to our house.

Luckily, I had six cans of white northern beans on hand, a three pound bag of frozen chicken breasts in the freezer, and a large can of Green Enchilada Sauce. If you've never had teens tell you as they went up for seconds, "that was so delicious!" then invite some over and make them a pot of this. I did end up going out for some soda and tortilla chips and cheese. I calculated that including soda, I fed the teens plus our family (20) for $20.00. If I'd gone out for fast food it would have been twice that or more. You won't necessarily make this large amount, but you could serve half to your family and take half to another family. Or invite some friends. Or teenagers. They love to eat.

White Chicken Chili

Cover with water in a pot or stock pot:

2-3 lbs chicken breasts (if frozen, you don't have to thaw)

Bring to a slight boil, and then turn down to a simmer. Cook until no longer pink on the inside (I take out one breast and check when they look plump). Meanwhile, saute in large pot or Dutch Oven until tender and translucent:

2 onions, chopped (I had a purple onion on hand and used it, too)
1/4 tsp pepper
1/4-1/2 tsp salt


Add to the cooked onions:

1 28 oz can Green Enchilada Sauce, mild or medium (Susanna assured me medium was fine and she was right)
5-6 15 oz cans Great Northern Beans, no draining necessary
3-4 tsp ground cumin
2 cloves garlic, chopped, or 1/2 tsp garlic powder

Simmer on low. Chop the cooked chicken into bite sized pieces (or you could shred with two forks). Add the chopped chicken to the onions and Enchilada Sauce. Simmer for about 15 minutes, until beans are tender. Taste and add more salt or pepper or cumin, if desired. Save the broth that the chicken breasts were cooked in. Strain it, and freeze for later use when making a recipe that calls for chicken broth.


Serve in bowls, topped with shredded cheddar cheese, crushed tortilla chips (or soft tortillas that have been sliced into small strips), and a dollop of sour cream or Greek Yogurt. We use the latter because it tastes identical and is far healthier than sour cream. I put out salsa for the chips, but the kids were so full of chili they didn't need additional chips and salsa.


The recipe can easily be cut in half. Use a smaller, 15 oz can of Green Enchilada Sauce and half the amount of the other ingredients. Some like the chili more soup-like...you could add 1/2 to 1 cup of the broth that the chicken breasts were cooked in. This recipe served 20. Mary Pat's nurse came in the kitchen while I was cooking. She'd had the chili at our house a couple months ago. "Are you making THAT again? Oh, I am so going to ask to have some, too." It's good stuff.

Enjoy!

Suzy

The Abbey Farm

Wednesday, June 8, 2011

Healthy and Delicious Chocolate Chip Cookies


Most of us are familiar with the original Toll-House Chocolate Chip Cookie recipe. Nestle bought the rights to it in the thirties or forties. The owner of the Toll-House Inn was trying to cut corners with a chocolate cookie. Instead of melting the chocolate and adding it to the dough, she thought she'd save time by chopping it and mixing it in. She thought it would melt throughout, but it didn't, and a legend was born. I had the recipe memorized early on in  life, and when my first daughter was a baby I could bake a batch with one hand tied behind my back. Actually, tied up with Marie in a baby-sling.

My children are very discerning. They'll eat store bought cookies, but they prefer homemade. I feel better that no matter what we make, it's got to be healthier than what is in the store. I've been experimenting in the last couple of years with healthier versions of the classic Toll-House Cookie, and my kids think this is THE best. They really are delicious.

In this recipe I mention quite a few options. Not everyone has chickens or a flour grinder, or happened to stop at the Osceola Cheese Store on their way to Branson and purchase sorghum syrup (not in the typical honey bear--but an angel--so cute I'll post her picture).


Healthy Chocolate Chip Cookies

Beat  together in large bowl:

1 stick (1/2 cup) unsalted butter
1/4 cup canola oil
1 cup organic sugar (or you could use white...it's still a third less sugar than the original recipe)
1 Tb sorghum or molasses (lends the flavor that is in the usual brown sugar)
1 tsp vanilla

When light and fluffy, beat in:

2 eggs (farm fresh, preferably)

In separate bowl, stir together well:

1 1/2 cups whole wheat flour (we grind our own fine; when bought, I prefer King Arthur brand)
3 cups Old Fashioned Rolled Oats (we used the store brand; healthier still would be organic)
1 tsp sea salt (or Table salt)
1 tsp Baking Soda

Stir this flour mixture into the butter mixture until well incorporated. Then add and stir in:

1 cup of the best semi-sweet chocolate morsels or chunks or chopped bits you can find.
We love Nestle. You could add up to two cups (My older daughters and I are also trying to limit excess calories, but you may not need to; we wanted a cookie that would be no more than 2 Weight Watcher's Plus-points).

Drop by teaspoonfuls about 2 inches apart onto an ungreased cookie sheet and bake 8-10 minutes at 350 degrees. The cookies are equally good slightly underdone or richly golden brown.  It is best to bake one sheet at a time. I have a lovely convection oven, but I don't use it for cookies. I may be able to put three sheets in at one time, but the results have never been satisfying to me. Next batch I plan to add some toasted, chopped pecans. One child suggested coconut...I'd say a cup would do.

The kids love them chewy and substantial, but if you like a softer, flatter cookie, reduce the whole wheat flour to 1 cup. If you want/need to disguise the oatmeal, it can be turned into oat flour in your blender. Stick to the three cups of oats to start with--it will reduce when made into flour. For gluten-free diets, try with all oat or rice flour. Bruce prefers raisins to chocolate chips...add a tsp cinnamon and 1/2 tsp cloves!

I guarantee your family will love them. Let me know when you've tried them!

Boys will even lay down their toy guns for these!


God Bless!

Suzy

Thursday, June 2, 2011

Homemade Pizza!


We have friends who make their own pizzas regularly and exclusively of any Pizza Joint. We still get the frozen ones and the Hut pies, but we had a whole lot of fun and saved a bunch of money when we tried it on our own. My friend, Christy Harris has great recipes and runs Providence Farm. Christy started a blog. Though I'm causing you to click again, here's a recipe for the pizza dough:

   http://artisanfarmsteadliving.blogspot.com/2011/05/artisan-style-pizza-dough.html

Christy's blog is really fun to read and is very informative. Her French Bread recipe is outstanding. In these pictures I used a pizza dough recipe from the King Arthur Flour cookbook, but the next time I will use the one from Christy's blog.  King Arthur has an online catalog and extremely fine and fun ingredients and products: http://www.kingarthurflour.com/ We are lucky enough to live within a couple miles of a grain mill which actually supplies wheat to King Arthur Flour, so I buy the wheat berries and grind them for Whole Wheat flour, and purchase the Artisan flour from the grain mill. Anyone can taste the difference. Put a pinch of your all-purpose flour on your tongue right now. Depending on the age of the flour and it's freshness, you will taste a distinctly bitter flavor after a while. The fresher the flour, the longer it takes to register the bitterness. With the King Arthur flour or the Artisan Flour which I buy local, there is only a creamy flavor, no bitterness! I prefer to pay a bit more for this fresh flour.

Taking the lead from suggestions of toppings in a Weight Watchers cookbook, we made the following pizzas, with ingredients such as fresh spinach leaves, feta cheese, mozzarella, artichoke hearts and black olives. The boys had a good time creating their own pizzas; their choices of toppings were more traditional.

All children love punching down the risen dough. These two laughed hysterically!


Ben said he only liked his, the small one in back center with a few spinach leaves. Gus said he liked "The Hut" better, but everyone else loved them all. It didn't take much longer than ordering take-out, and it was a heck of a lot more fun!

Buon Appetito!

The Abbey Farm

Sunday, May 8, 2011

Lemon Heaven


     I never used to be a big lemon fan. As a little girl I did like them at fairs, cut in half with a soft peppermint stick stuck in the middle. The peppermint stick dissolved up the center and became a straw for the lemon juice which became sweet and minty. I had friends who loved Lemon Meringue Pie and Lemon Squares, but I wasn't into them.  Years later, my friend Jan took me to a local tea room in Maryland for our birthday (we share the same day). The owner made her secret recipe, handed down from her grandmother: Lemon Torte. I wasn't even going to try it, but Jan insisted. It was our birthday.

     It was, first of all, gorgeous. Sitting on a dainty plate, the large serving was three or four inches high, a creamy light-yellow lemon filling, sandwiched between meringue layers and topped with freshly whipped cream. Intrigued, I tried my first taste. Lemony tart and creamy with a bit of crispiness from the meringue, it was exquisite. It's one of those desserts that seems so light that you over-indulge. I loved it. I've loved lemon ever since. For a few years we tried to get the recipe. The owner wouldn't share it. Even after the tea room closed she wouldn't budge! She had made some kind of promise to her grandmother! Hummmph. I tried to reconstruct the recipe and gave up.

     Fifteen years later and I think I've got it! I thought it had to be either an elaborate recipe with perhaps a secret ingredient--or something ridiculously easy, like instant lemon pudding folded with coolwhip (thankfully not the latter). The closest I've found is a combination of the two. I thought maybe a "secret ingredient" might be Lemon Curd, but now I don't believe so. Here's what I think:

     Lemon filling, not unlike that of a lemon meringue pie, is folded with whipped cream, layered between meringue shells and topped with more whipped cream. Heavenly. It is rich, so do not wolf it down as you will most certainly want to. Even if you are not a lemon fan, you will be sold on this.  I have tried a boxed, cooked Lemon Meringue Pie filling but thought it too "chemically." I'm sure you could use your favorite recipe, or one from your basic cookbook. I found both the filling and meringue recipes in "Joy of Cooking" by Rombauer and Becker, the 1979 edition, but I altered them a bit.


Suzy and Jan's Lemon Torte

Meringues

Beat until Frothy:
6 egg whites, at room temperature
Add:
1 tsp. vanilla
1/8 tsp. cream of tartar
Beat in, 1 Tb. at a time:
1 1/2 cups sifted powdered sugar
Beat until stiff peaks form when the beater is raised. Do not overbeat or it will start to break up. Place a piece of parchment paper on two baking sheets. Mark a 9 inch circle on each paper. Spread half of the meringue mixture on each circle and spread evenly to create two smooth discs. Bake for about two hours at 225 degrees. The meringues should not brown, and they will become slightly firm. Turn off the oven and leave closed another hour or two until the meringues are crispy. They can be made a day ahead of time and stored in the cool oven.


Lemon Filling

Mix in a medium saucepan:
3 Tb. cornstarch
3/4 c. sugar
1/4 tsp salt
1/2 c. freshly squeezed lemon juice (do not use reconstituted)
3 Tb. water
1 tsp. grated lemon rind
1 Tb. butter
Cook over medium heat, stirring constantly. Mixture will begin to  boil and thicken. Boil very slowly about three minutes. Stir 3 Tb. of the hot mixture slowly into:
3 slightly beaten egg yolks
Add another 3 Tb. of hot mixture and stir. Next, slowly stir the egg mixture back into the hot mixture. Return to heat for about 2 minutes, stirring constantly. Remove from heat and stir gently until cool.
Beat:
2 cups whipping cream
When firm peaks form as beaters are raised, fold three quarters of the whipped cream into the cooled lemon filling. This is where you can adapt the recipe according to how tart you like it. For a more tart filling, use less of the whipped cream. For less tart, use more.

Place one meringue at the bottom of a 9 inch springform pan. Top with the lemon filling. Place the other meringue disc on top and press down gently. Cover lightly with plastic and refrigerate until ready to serve. Remove the sides of the springform pan and place on a pretty cake plate. Top with reserved whipped cream. Garnish with grated lemon rind.


     For the picture (from my last birthday) I tried making three discs of meringue and did not top with more whipped cream.  It looks elegant, but I prefer two discs like the original, secret, restaurant version. Enjoy! I'm so excited about this I may make it for Mother's Day. But then, there is a Hazelnut Torte recipe that I love, too...hmmm...I'll post that one later!

Happy Mother's Day!

Suzy
The Abbey Farm

Tuesday, April 26, 2011

Brazilian Carrot Cake

     We love Renata. She lived with us for four years. Renata was 21 when she came to us from Brazil as an Au Pair. What a gift from God in so many ways. At first she wasn't sure if she liked Kansas, that is, the country. She was from a bustling city. Our house was a former monestary. In the first two weeks of the quiet of summer, college town empty, she announced that she "did not want to be a nun," she'd have to relocate.

     Within that time of decision, we hosted the Benedictine Monks for a St. Benedict's feast day party. Renata met some monks who spoke Portuguese. There is a mission of our monks in Brazil, not far from Renata's town. By the grace of God, she decided to stay.

     What a joy she has been. Soon after Renata's decision to stay we found out we were expecting again. I waited, breath held. She didn't run! She proved to be such a blessing when Mary Pat was born and I was in Kansas City for more than a month.  She later predicted we'd have ten children. So far, she's right!

     Renata taught us how to make some delicious Brazilian food. Just today Jim, three, asked if we could make "Lala's Carrot Cake." When he awakens in a little while from his nap, we'll do just that. Here is the recipe. I must point out that it resembles American Cake in absolutely no way. It is a very European cake, which makes sense as Brazil was settled by the Portuguese! It is moist with a thin, crispy layer of chocolate. It is not as sweet as an American cake. Our family loves it, and I hope yours will, too!

Brazilian Carrot Cake

Mix in blender til smooth (if you have a VitaMix, all the better!):

1 1/4 cups canola oil
3 eggs
2 1/2 cups sugar

Add, and blend again until as smooth as possible:

2 cups coarsley chopped carrots, or baby carrots

Pour this lovely orange mixture into a large bowl. Add:

3 cups all-purpose flour
1 tsp. baking soda
1 tsp. baking powder
(I add a tsp. of vanilla and 1/2 tsp. salt, also)

Blend well. Pour into a 12 inch round cake pan or a 9"X13" baking dish. Bake at 350 degrees for about 25 minutes, until the top springs back when lightly touched. Let cool in pan, but frost when just out of the oven with:

Chocolate Coating

Bring to a boil briefly:

1 cup sugar
3-4 Tb. cocoa
1/8 cup water

Stir, then remove from heat and pour over hot cake. Spread evenly.


     We eat the cake while still warm, because we just can't wait until it cools. It is best, in my mind, with a strong cup of Brazilian Coffee. The children like it with a cold glass of milk. Carrots in the cake mean it's fair game for breakfast the next morning...if it lasts that long!


Enjoy! God Bless!

Suzy